Dirt Cake Recipe: Ingredients & Steps
Here’s the actual recipe that turns a few everyday ingredients into a creamy, crunchy, delicious masterpiece:
Ingredients:
- 1 package (14 oz) chocolate sandwich cookies (e.g., Oreos)
- 1 package (8 oz) cream cheese, softened
- 1/4 cup (30g) powdered sugar
- 2 packages (3.9 oz each) instant chocolate pudding mix
- 3 1/2 cups cold milk
- 1 container (12 oz) whipped topping (like Cool Whip), thawed
- 1/2 teaspoon vanilla extract (optional)
- Gummy worms (optional, but highly recommended for dirt drama 🍬)
Instructions:
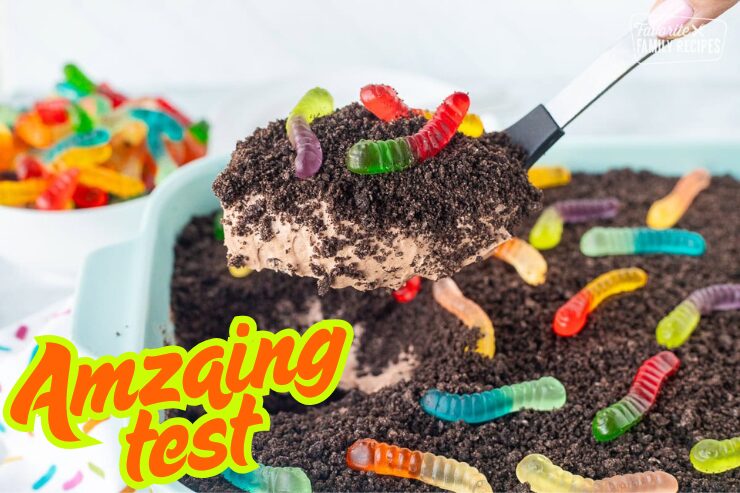
- Crush the Cookies: Put the cookies in a food processor and pulse until they resemble soil. No processor? Smash them in a zip-top bag with a rolling pin. (Anger management and dessert? Two birds, one stone!)
- Prepare the Pudding: In a large bowl, whisk the pudding mix and cold milk together for 2 minutes. Let it set for 5 minutes to thicken.
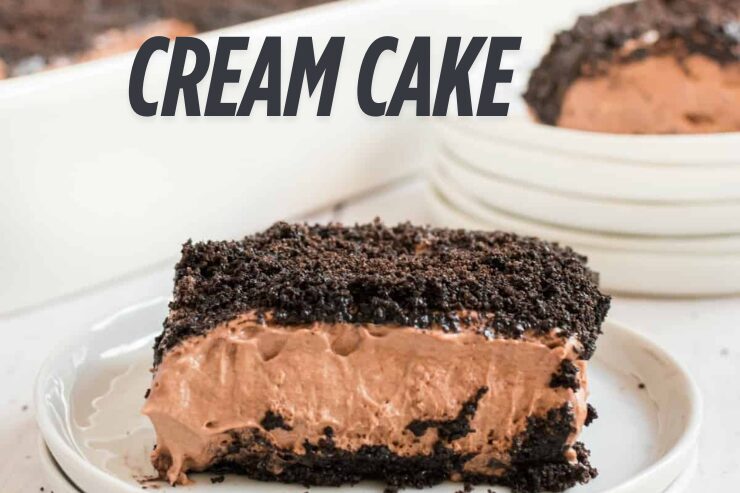
- Mix the Cream Cheese Filling: In another bowl, beat softened cream cheese and powdered sugar until smooth and fluffy. Fold in the whipped topping and vanilla extract.
- Combine It All: Gently mix the cream cheese mixture with the pudding until smooth and luscious.
- Layer It Up: Start with a layer of crushed cookies at the bottom of a dish. Add a layer of pudding mixture. Repeat until all ingredients are used. Make sure the top layer is crushed cookies—because dirt, remember?
- Chill: Cover and refrigerate for at least 3 hours (overnight is even better).
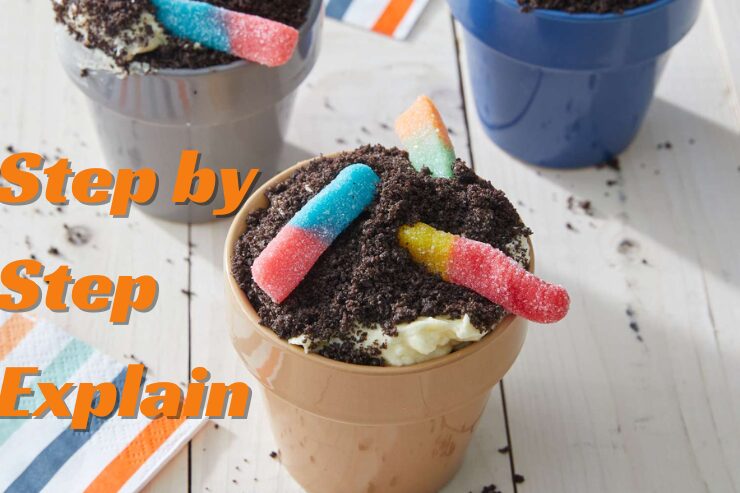
- Decorate: Add gummy worms, edible flowers, or anything whimsical to the top. Have fun with it!
1. Selecting the Right Cookies: The Foundation of Your “Soil”
The base of any great Dirt Cake is its “dirt” — the crushed cookies. Choosing the right type ensures the perfect balance between crunch and softness.
- Classic Choice: Original chocolate sandwich cookies are the go-to, providing a rich flavor and dark color that mimics real dirt.
- Flavor Twists: For a minty variation, try mint chocolate cookies. Feeling adventurous? Peanut butter-filled cookies can add a nutty depth.
Pro Tip: Use a food processor for a fine, soil-like texture. No processor? Put the cookies in a sealed plastic bag and go full Hulk with a rolling pin. (Anger issues? Bake it out! 🤣)
2. Pudding Perfection: Instant Gratification
The creamy layer is what gives Dirt Cake its smooth, velvety bite. Using instant pudding is a smart move.
- Why Instant? It sets fast and stays firm — no stovetop drama here.
- Flavor Options: While chocolate is classic, vanilla or butterscotch can give the cake a fun twist.
Pro Tip: Double-check the box. Accidentally buying cook-and-serve pudding is a rookie mistake. We’ve all been there. 🤦
3. Cream Cheese: The Secret Weapon
Cream cheese is the unsung hero in Dirt Cake. It adds richness, tang, and just the right amount of heft.
- Softening Tip: Let it sit at room temperature for 30 minutes. Cold cream cheese is a blender’s worst nightmare.
- Blending Tip: Beat it with powdered sugar until it’s fluffy like a cloud before adding it to the pudding mix.
Pro Tip: Don’t skip the cream cheese unless you’re going for “Dirt Soup.” Nobody wants that.
4. Whipped Topping: Fluff It Up!
A good Dirt Cake needs some lightness, and whipped topping is where the magic happens.
- Store-Bought: Convenient and consistent.
- Homemade: Want to show off? Whip some heavy cream with sugar until it peaks like a dessert mountain.
Pro Tip: Fold it in gently. This isn’t cement. You’re not laying bricks. 🧱
5. Layering Like a Pro
Now it’s time to assemble your masterpiece. Think of this as dessert architecture.
- Start With Crumbs: First layer goes to the crushed cookies.
- Pudding Mix Next: Smooth it out like icing a cake.
- Repeat: Alternate until you run out.
- Top Layer: Always end with cookie crumbs — it’s called Dirt Cake for a reason.
Pro Tip: Use a clear dish so people can admire your layering skills. It’s edible art, baby!
6. Chill Out: Give It Time
Good things come to those who refrigerate.
- Minimum: Chill for at least 3 hours.
- Overnight: Even better. Flavors marry. Texture firms up. It’s like a dessert honeymoon.
Pro Tip: Cover with cling film to keep your fridge’s mysterious aromas from crashing the party.
7. Decoration Station: Make It Fun
Let your creativity run wild!
- Gummy Worms: Classic. Let them peek out like they’re escaping.
- Edible Flowers or Sprinkles: Great for themed events.
- Crushed Candy: For a bit of color and crunch.
Pro Tip: Let kids help with decorating. Just don’t expect to have any gummy worms left afterward. 😆
FAQs
Q: Can I make Dirt Cake without cream cheese?
A: Yes! Just replace it with more whipped topping or Greek yogurt for a tangy twist.
Q: How long can Dirt Cake stay fresh in the fridge?
A: Up to 4 days. After that, it starts to get mushy and loses its wow factor.
Q: Can I freeze Dirt Cake?
A: Not recommended. The texture changes and it turns into more of an ice brick than a cake.
Q: Can I make it gluten-free?
A: Sure thing! Use gluten-free cookies and make sure the pudding and toppings are safe too.
Q: Can I use homemade pudding instead of instant?
A: You can, but make sure it’s thick enough to hold the layers. Otherwise, it’s back to “Dirt Soup.”
Conclusion: Get Dirty, Stay Delicious
Dirt Cake is more than just a quirky dessert—it’s a showstopper that blends fun, flavor, and nostalgia into one delicious dish. With these 7 powerful tips and a tried-and-true recipe, you’re on your way to creating a Dirt Cake that looks great, tastes amazing, and has the perfect texture every time.
So what are you waiting for? Grab those cookies, crank up your favorite playlist, and get dirty! (In the kitchen, obviously.) 😉
1 thought on “Dirt Cake Recipe: 7 Powerful Tips for Perfect Texture!”